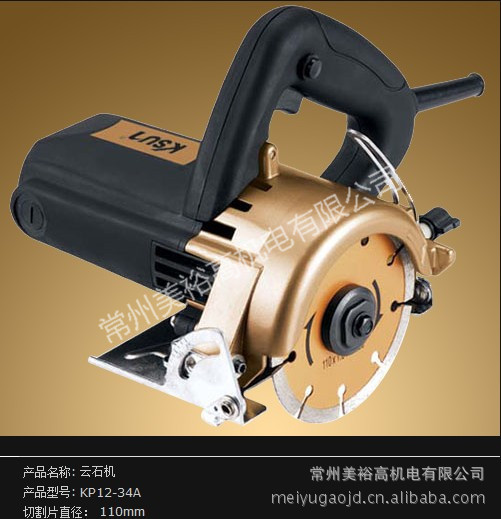
香港金尚电动工具KP12-34A,装修机械切割工具,云石机,切割机

常州美裕高机电有限公司
常州市新北区黄河东路88号2幢515-1
产品属性
图文详情
品牌推荐
品牌/型号
金尚/KP12-34A
品牌
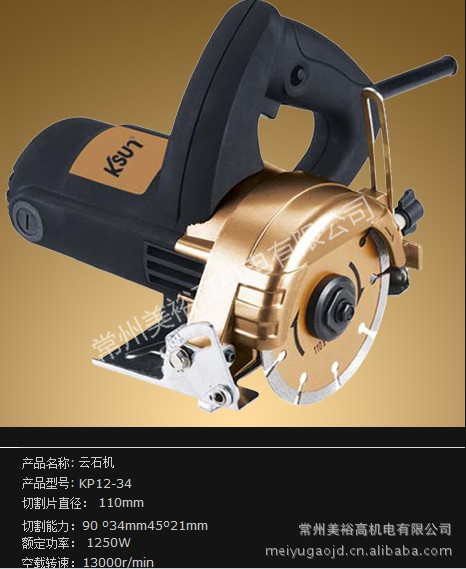
金尚
型号
KP12-34A
重量
3.4(Kg)kg
锯片直径
110(mm)mm
空载转速
13000(r/min)r/min
额定输入功率
1250(W)KW
最大锯切深度
50(mm)mm